Many people ask me how I paint my plywood projects after laser cutting. In this post, I’ll share my process, which helps achieve rich colors and high-contrast engravings.
Materials
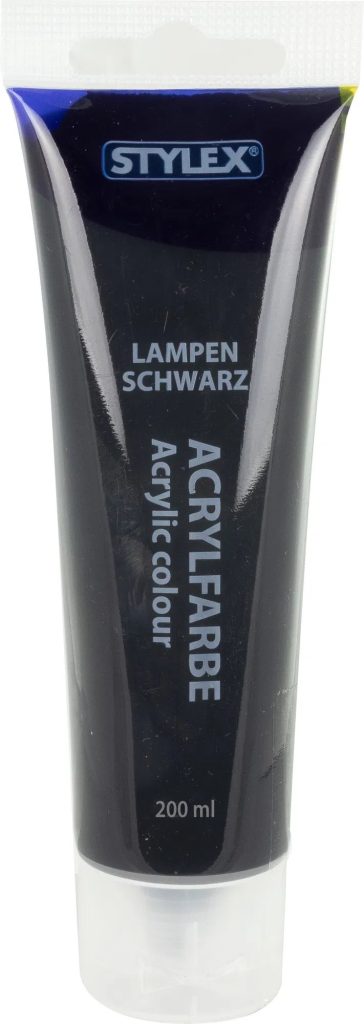
I use two main colors:
- Black (acrylic paint)
- Palisander stain (wood azure)
All paints are water-based. The plywood I use is regular poplar, 3.8mm thick, but this method also works well with birch plywood.
Painting Steps
1. Base Coating the Plywood
First, I cover the plywood sheet with black acrylic paint diluted with water (1:3 ratio). This allows the paint to penetrate deeper into the wood fibers and apply evenly. I use a regular foam sponge for application.
After drying, I lightly sand the surface with fine sandpaper (grit 1200). This removes raised wood fibers and smooths the surface. This step makes handling small details after laser cutting much easier.
2. Laser Engraving and Cutting
Once the plywood is painted and sanded, I proceed with laser engraving and cutting. If the sheet warps after painting, I secure it to the laser cutter’s worktable with clamps.
3. Enhancing Engraving Contrast
After engraving, I apply another layer of black acrylic paint over the engraved details using the same paint as before. Once dry, I sand it again to create a contrasting effect: the surface becomes gray, while the engravings remain deep black.
4. Assembling the Project
For assembly, I use D2 wood glue, or D3 for waterproof durability. This ensures the final product is strong and long-lasting.
5. Applying the Wood Azure
After assembling, I coat the piece with a palisander-colored wood azure. The more layers, the darker the shade. This type of azure is typically used for outdoor wood protection (e.g., terraces and fences), but it looks great on plywood.
6. Final Finish
A clear acrylic varnish can be added as a finishing touch, but even without it, the wood azure gives a beautiful final look.
Wood Azure Details
The azure I use: OBI Deep Protection Palisander Azure. You may not have this exact one available, but there are 100% similar alternatives. This azure is designed to protect wood from moisture and sun, primarily for outdoor use. Ingredients: water, oil, dye, acrylic, hardener. If you cannot find this specific product, look for a wood azure with a similar composition. A clear acrylic varnish can be added as a finishing touch, but even without it, the wood azure gives a beautiful final look.
Variations
The number of paint layers can be adjusted:
- For a lighter finish, I sand more thoroughly.
- For a darker finish, I apply additional layers.
Conclusion
This method provides a deep black color, crisp engraving contrast, and a rich wood tone. The key is using water-based paints and focusing on sanding for the best results.

Tags:
#LaserCutting #Woodworking #DIY #PaintingTechniques #Engraving #AcrylicPaint #PlywoodProjects #Crafting #WoodStain #LaserEngraving